
Backing up Files at the Press of a Button
A Network Attached Storage (aka a NAS) is used by many creatives to store photos, videos, etc. These systems often provide a RAID feature providing some sort of redundancy, which allows for data recovery if one hard drive fails. A NAS is however not a backup system. This article proposes a solution to implement a simple yet efficient and economical backup system.
Introduction
Before we get into the core of this page, setting context is important. Storing media on a NAS is very convenient: not only are the media files accessible from any computer on the same network, the storage capacity is quite large (some NAS model are capable of up to 48 TB of storage space…). NAS systems provide the RAID feature which helps with file recovery in case one of the hard drives hosted in the NAS fails. RAID is however not a backup system as the NAS device may fail completely, potentially “frying” the hard drives. In such case, data recovery is unlikely.
A good backup technique requires a copy of the files onto a physical device, separate from the NAS. Backing up is important, so to make it a regular habit, the backup process has to be simple to kickoff. Anything in the way of running the backup will just become an excuse not to run it.
Now what type of system do we want?
Economical. Running a NAS system is expensive: the device itself has a cost of several hundred dollars and the hard drives (several TB in size) cost quite a bit as we want them to be reliable. NAS systems often take server grade disks, more reliable/less prone to failure but more expensive.
USB disks are affordable so that multiple copies of the data can be made economically. However,Automated. To support the simplicity of operation, the back process must be automated and robust
Open Source software and hardware. No need to pay more to build a good system.
Let's look for the Lego bricks we need
Most NAS support the old and venerable rsync protocol, which, in summary, provides a way to synchronize files on different devices. So, we’ll use it to synchronize files on the NAS with our USB drives. Running rsync does not require a powerful computer and can be run on most operating systems (Mac OS, Linux, Windows).
Most portable USB drives (pocket size) are not designed to be powered continuously. Models of USB Hubs provide power buttons for each USB port, which help save the drive’s life time.
A computer such as the raspberry Pi (RPI) is perfect for this type of application: it is cheap, it runs Linux, it supports USB and ethernet/network: we can connect our USB drives and HUB to the RPI and it can be connected to the same network as the NAS.
How are the media files organized?
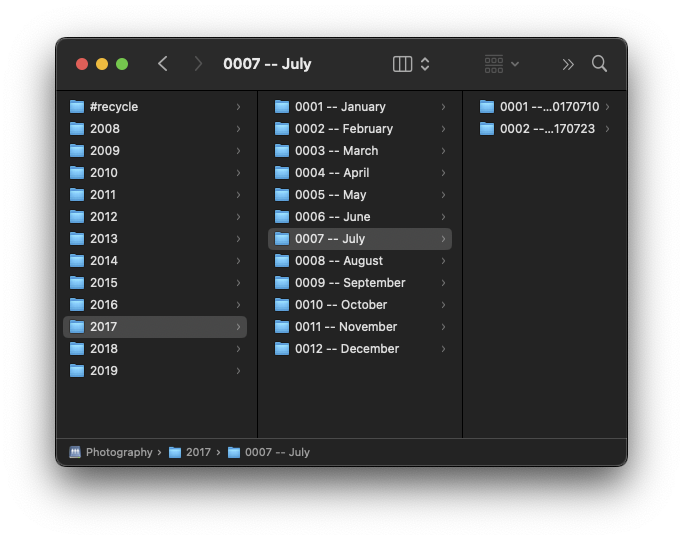
For an efficient backup process, its important media files be organized. I chose to organize my photographs and other media files by year, month and session/trip/etc.
Before using a NAS, I used two USB hard drives per year of photography, one mirroring the other. From time to time, I ran a backup application to keep the two drives in sync.
Now that the files are stored on a NAS and organized by year, we can use the same system of USB hard drives to keep copies of the precious files. And to achieve this, we’ll call on an old application.
Hello rsync
As mentioned above, rsync is (in a very short summary) a utility and protocol that was designed to keep files in sync over a network. rsync is divided in a server and a client. Most NAS models provide support for rsync.
Synchronizing files relies on the concept of a module, which includes the path to the directory of files and other options (such as preventing the directory to be modified)
[2020]path = /volume3/Photography-2/2020uid = bobbygid = usersread only = yessecrets file = /etc/rsyncd.secretsauth users = bobby
The example here shows the definition of a module, appropriately named “2020”, that is used to synchronize the files of the year 2020.
The directory is read only (that way it cannot be accidentally modified by our backup process, due to human error…)
The other parameters are used for authentication and file ownership when transferred to the client. Here, user ‘bobby’ and group ‘users’.
The module are added to the rsync server configuration file, usually in /etc/rsyncd.conf.
A module is defined for each year of photography stored on the NAS.
On the rsync client side, a synchronization process is started with
$ rsync -avz rsync://bobby@my-nas:/2020 /path/to/backup/drive/for/2020The command means we want to make an archive the files of module ‘2020’ on ‘my-nas’ with the location /path/…/2020. To save on transfer time over the network, the server is to send the files to the client compressed (-z). With ‘-v’, the client is to be ‘verbose’, we want to see the file names being synchronized. The server will expect the client to authenticate with a password/a secret. The variable RSYNC_PASSWORD is set to the expected secret, so that the client does not prompt for the user’s input. This would kill our automation… which will be detailed in the next paragraph.
Automating the backup process
KERNEL=="sd?1", ACTION=="add", TAG+="systemd", ENV{SYSTEMD_WANTS}="photo-backup-handler@'%E{DEVNAME}'.service"systemd is the system manager of most Linux systems, e.g. it helps boot the Linux operating system, it starts services when conditions are met.
We’ll use a systemd feature called ‘handler’, which is essentially a service file that can receive an argument. In this case, the handler will receive a the USB device from udev and call a script (backup-disk.sh) to make the backup.
So, thanks to this system, the script ‘backup-disk.sh’ is run whenever a USB drive is connected to the computer. That is nice,
Now is the time to detail the code we need to run the backup system when a backup drive is connected to the computer.
The automation of the backup process relies on two services provided by Linux: udev and systemd.
udev takes actions when the hardware configuration of the computer changes. Conditions are described as ‘rules’. In our case, we want udev to take action when a USB drive is connected to the computer:
[Unit]Description="backup of media files"[Service]Type=forkingGuessMainPID=falseExecStart=/usr/bin/backup-disk.sh %I