An Approach to Bird Photography
Photographing birds is a great excuse to spend time outdoors. There are many species of birds even in a small area such as a park, a preserve, along a trail.
This page details my approach and workflow I have established for my needs and way of working. The workflow assumes a modern digital camera is used and it relies on Adobe Lightroom (management, editing, processing).
Some parts of this workflow might be relevant to you, or might inspire you to adapt it to your needs and ways.
As my experience of observing birds tells me:
the smaller the bird the faster it moves (generally speaking of course, the roadrunner moves fast),
Birds are active in the morning and late in the afternoon,
Birds are generally fearful of humans
These facts impact how we can approach bird photography:
Long lenses are generally needed, especially if the bird is to “fill” the frame,
High shutter speed is needed, given how fast small birds move (shutter speed in excess of 1/1000th of a second)
High ISO is generally needed, given the low light levels early in the morning/late in the afternoon or at other times of the day under the canopy of trees.
A long lens with a large aperture, such as a 500mm f/4 costs a fortune ($6,000 and more) which is not quite accessible. Zoom lenses like a 150-600mm cost less money but they come with the tradeoff of a variable aperture, such as the Tamron 150-600 f/5-f/6.3 G2. At 600mm the aperture is f/6.3, cutting down the precious light we need by 1.3 stop of an f4 lens.
So, it is a fact that with such zoom lenses, high shutter speeds at f/6.3 means high iso (3,200, 6,400 or 12,800). This introduce noises to the picture. Proper exposure as well as appropriate tools help mitigate the noise level.
Facts about birds
Exposure
All DSLR’s and mirrorless cameras are capable of delivering RAW files which provide more information from the camera’s sensor than the jpeg format.
This workflow relies on RAW files.
Most camera models come with auto-iso which is fantastic for our purposes: we need to
Focusing
Manual focus for bird photography was the only option for photographers in the 70’s. As a result, if there was one photograph over a roll of 36 where the subject was in focus in sharp that was considered outstanding.
Modern digital cameras provide fantastic auto-focus with tracking of the subject. Mirrorless cameras provide an even more advanced options, such as eye detection and tracking… This combined with continuous focusing increases the number of keeper pictures!
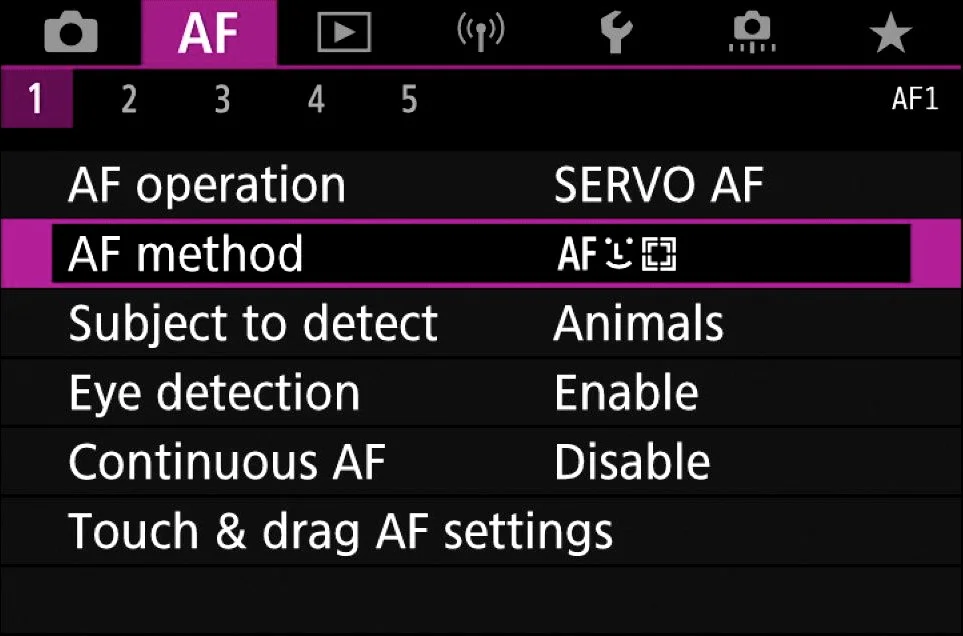
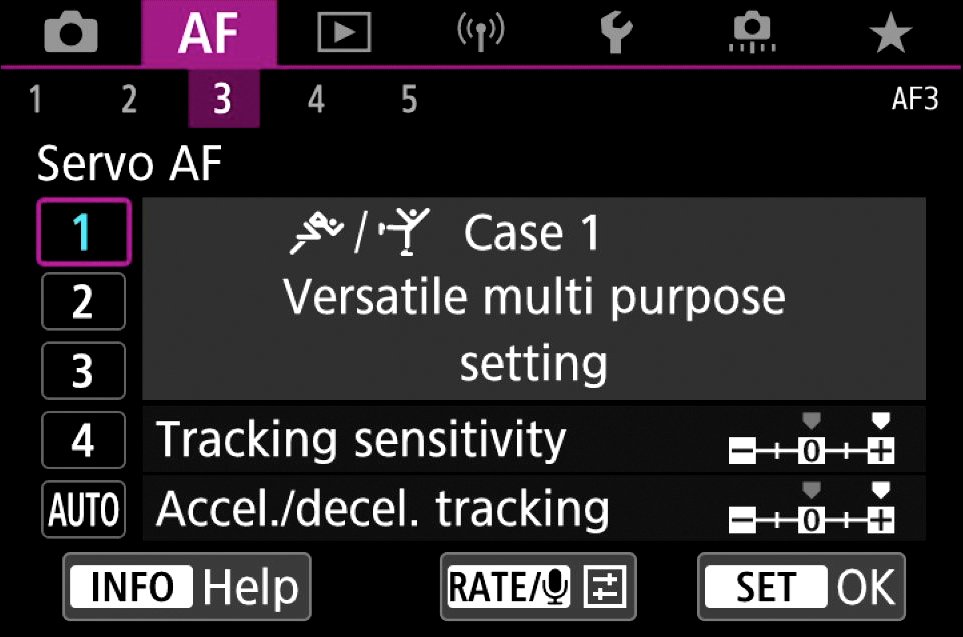
As much as eye detection based auto-focus is fantastic, it still needs a little help to find the subject and then detect its eye. Think of a small bird in a tree: without help, it is very likely the camera will first focus on a tree limb, missing the bird altogether. So setting an initial focusing point, that can be moved to set the initial focus on the subject. The AF system can then detect the bird eye(s).
However, cameras come with different focusing modes for a reason: there is no one size fits all solution. Sometimes, manual focus is needed, sometimes it is single shot autofocus.
Frame rate
Most of our avian friends move fast and decide where they want to go, without giving a heads up to the photographer! It is therefore important to try to anticipate the bird’s movements. To help support this, a high frame rate is very useful. Mirrorless cameras leave most DSLR’s in the dust when it comes to frame rate. My old DSLR was capable of about 5 frames per second on a fully charged battery.
Most mirrorless cameras, are capable 20 or more images per second. This performance is achievable with high performance memory cards and fully charged batteries.
These high frame rates are usually achievable with electronic shutter mode which usually comes with a tradeoff: the dynamic range is less than when using a mechanical shutter. The frame rate is to be adjusted for each situation though…
Supporting the Camera
The long lenses needed for bird photography are not exactly light, actually quite heavy. Handholding the camera and the lens for any period of time is very hard: the heavy pair is difficult to maintain still, making composing hard and adding challenge for the auto-focus system to track our feathered subjects.
Unless shooting from a photo blind, keeping mobility is important, so to keep up with the constantly moving birds. A monopod seems to provide good support for the camera and lens while allowing the photographer to freely move from one vantage point to another.
Getting close
A 600mm lens may seem like a long one, but filling the frame with a small bird can be a challenge. ‘
Here are some options:
A photo blind (some sort of a tent with a camo/natural pattern cover) helps get close to the birds without disturbing them. This is another investment to make and is not always practical
Using a crop mode helps as well. It reduces the maximum resolution of the camera but gives the illusion of a longer lens.
Using a focal length extender. This device comes between the camera and the lens. Typically, these provide a multiplication factor of 1.4x or 2x. The tradeoff is a loss of light (1 to 2 stops for. 1.4x extender), which increases the needed ISO and often makes autofocus slower.
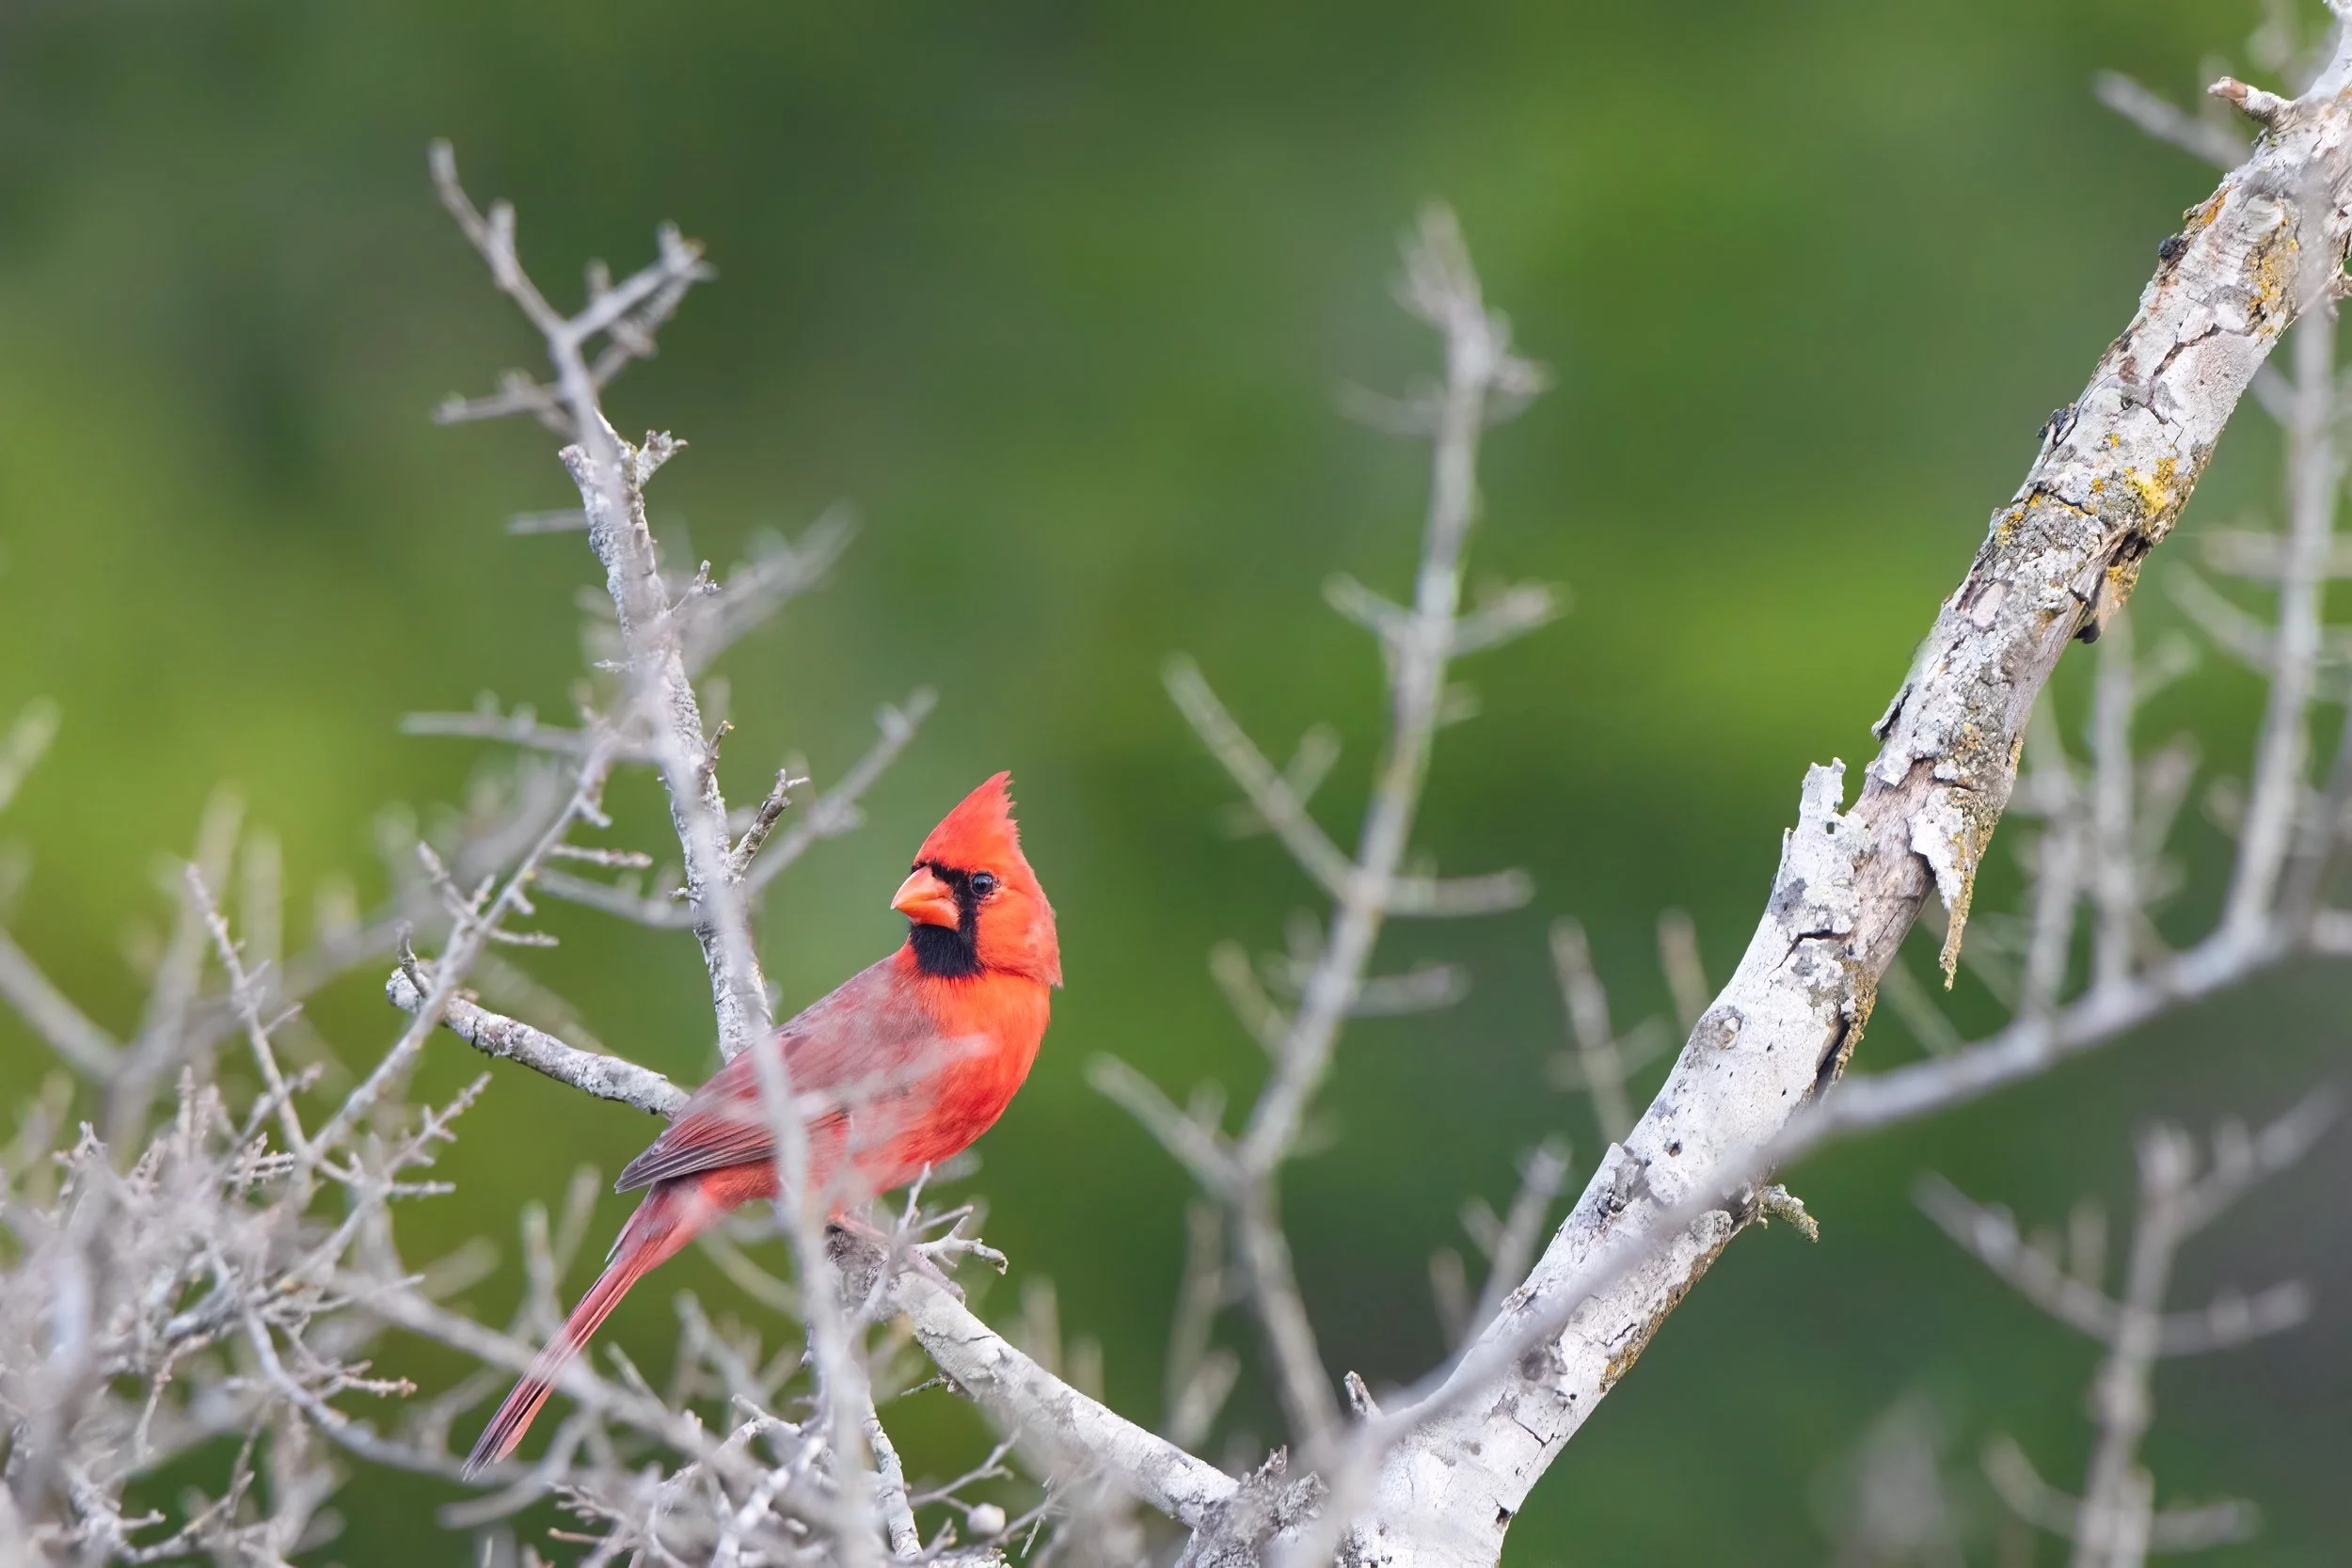
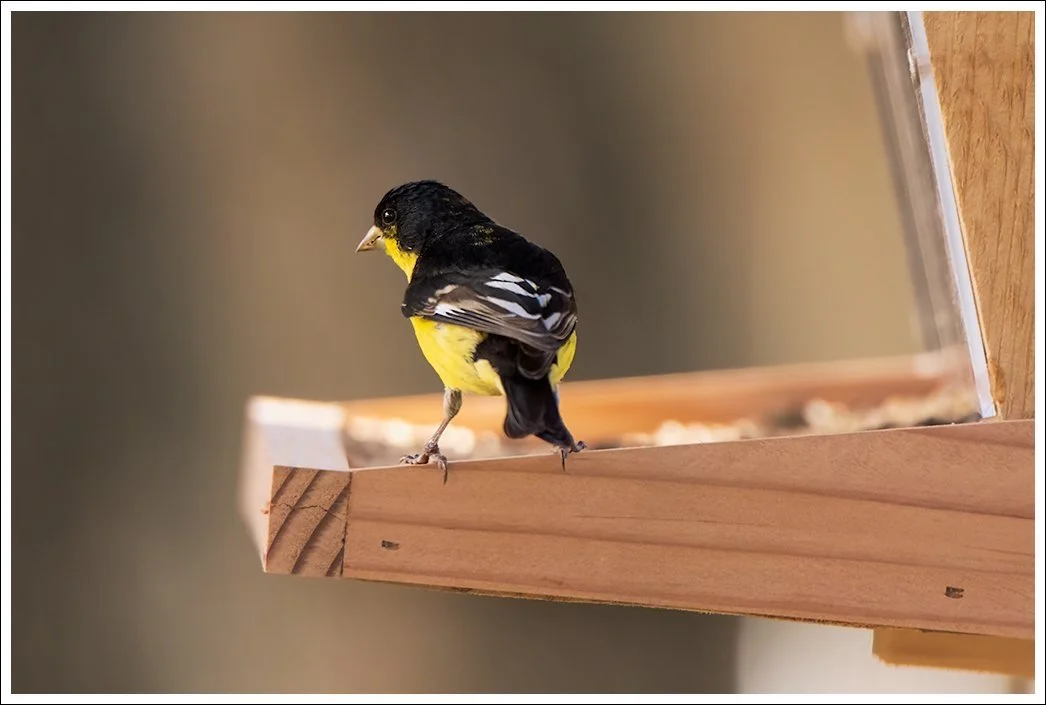
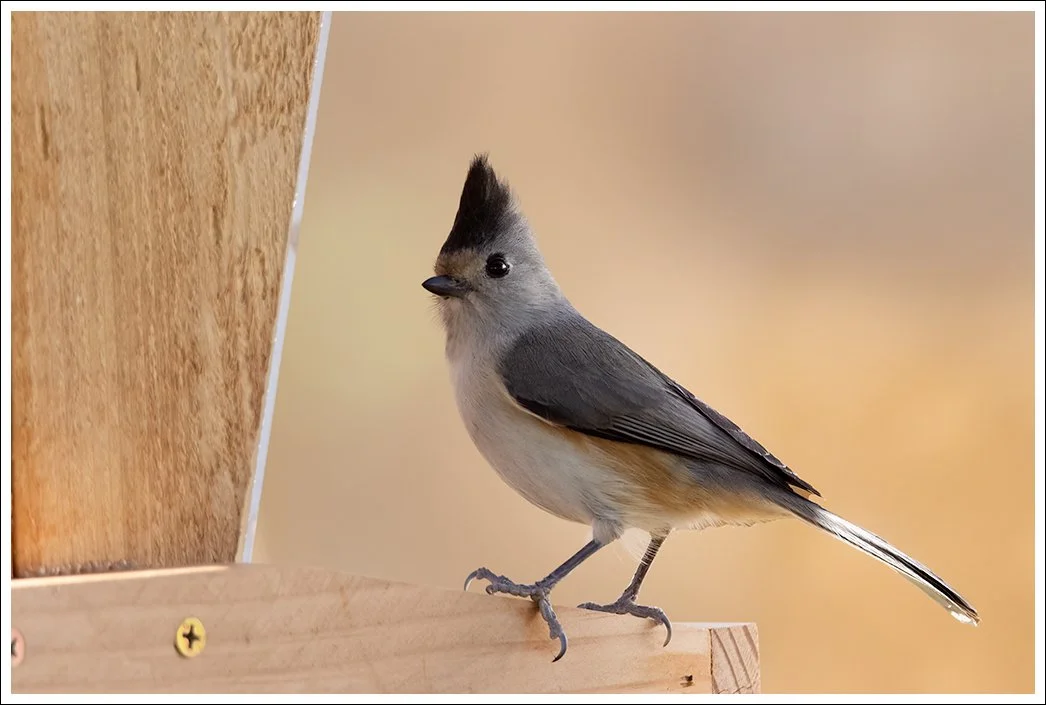
I have experimented with a combination of crop mode and focal length extender with good results as shown with these two photographs (lesser goldfinch and black-crested titmouse).
It also helps to use hides and camouflage suits.
Learning about birds
Researching birds is essential. It helps see more details in a bird’s behavior, the species I can find in my area, what place to visit to increase my chance to find birds, etc.
Starting with a bird feeder in an accessible location such as a backyard is great. It attracts many species of birds and the accessibility enables observation which feeds learning.
To help with learning, books, podcasts and smart phone apps provide good support.
Some applications:
The University of Cornell’s Merlin helps with bird identification, from the recording of a bird song. A Shazam for birds!
eBird, also from Cornell, to report bird sightings.
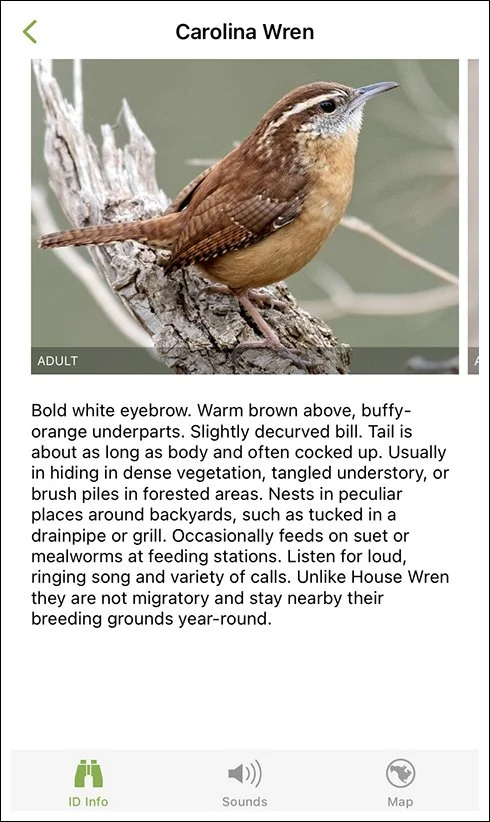
Audubon’s app provides, like Merlin, information about birds as well as a process to identify birds
Selecting the pictures
After we leave the field with a memory card hosting a lot of pictures, it is important to edit the pictures down to the keepers. A lot of the shots will not be interesting (e.g. behavior, composition), will show a bird out of focus or no bird at all (it took off before any picture could be taken). I tend to focus (pun intended) on a few bird species at a time, which means that after a while I get photographs of the same behavior. This is not a problem, Nature is beautiful. If one wants to make a book about, say, greater roadrunners, it pays to have a large number of pictures to increase the chance of a cohesive body of work.
Given we use a high frame rate most of the time, it is easy to come back from the field with many (in the 1000’s) images. Assuming a RAW file of 30 MB on average, 400 images mean 12 GB of data and this is just for one field trip!! A high resolution camera (45 Megapixels or more) routinely produces 50 MB raw files. For 1000 images, we end up with 50 GB of images.
I do delete a lot of images (usually about 80%) that don’t “make the cut”, which means 40 GB saved…
Postprocessing
This chapter will only describe an option for noise reduction. When it comes to colors, contrast, etc, it’s all up to the photographer’s expression, vision, esthetics, etc.
Lightroom provides noise reduction, recently updated with “Denoise”. It is probably very good at noise reduction. The problem I have is with the Denoise workflow: a DNG file for the “denoised” image is generated, separating it from any settings applied to the original file. This can be quite annoying.
Topaz AI provides an interesting approach to noise reduction, by using artificial intelligence to determine noise reduction settings and sharpening. Although Topaz AI can work on RAW and tiff files, I find that noise reduction applies to RAW files leads to an artificial look. As of January 2023, Topaz AI noise reduction applied to a TIFF file looks a lot better.
My approach is to duplicate the background layer (the imported and rendered RAW file) to a new layer, make it a smart object and call Topaz AI from the filter menu. By using a smart object, I can go back to the noise reduction and sharpening should I find the need to.
Once Topaz AI has done its job, I go on with other layers, each with specific changes. All this in a non-destructive way, so each layer can be modified independently.
Book wise, there are so many good books about birds. Public libraries and used book stores are a great source.
Some I am using:
Feed the birds by Chris Earley (ISBN 978-0228102014)
Texas Hill Country by Mark Gustasfson (ISBN 978-162349-2359)
The American Robin by Roland H. Wauer (ISBN 978-1643144290)
The real roadrunner by Martha A. Maxon (ISBN 978-0806163093)
The roadrunner by Wyman Meinzer (ISBN 0-89672-244-9)
“The Art of Bird Photography” by Arthur Morris provides photographic techniques and is still relevant today despite the (now old) age of the book.
Magazine wise, a couple of publications:
birdwatching magazine
National Geographic Magazine (see here)


University of Cornell’s Merlin
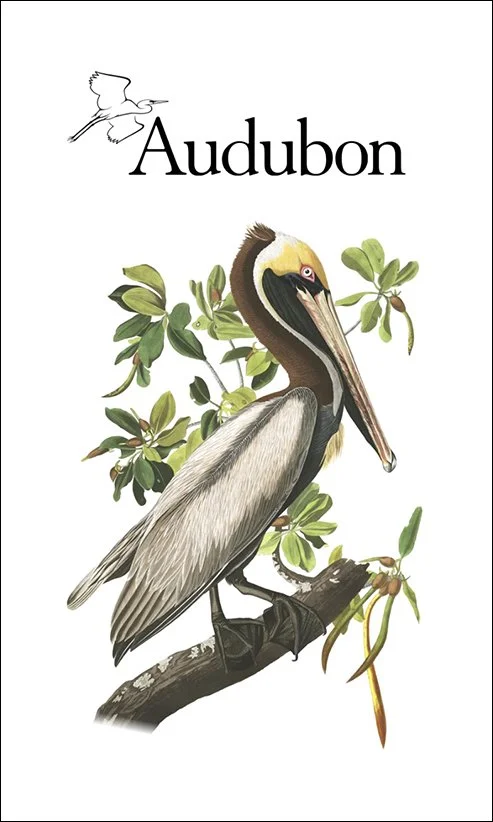
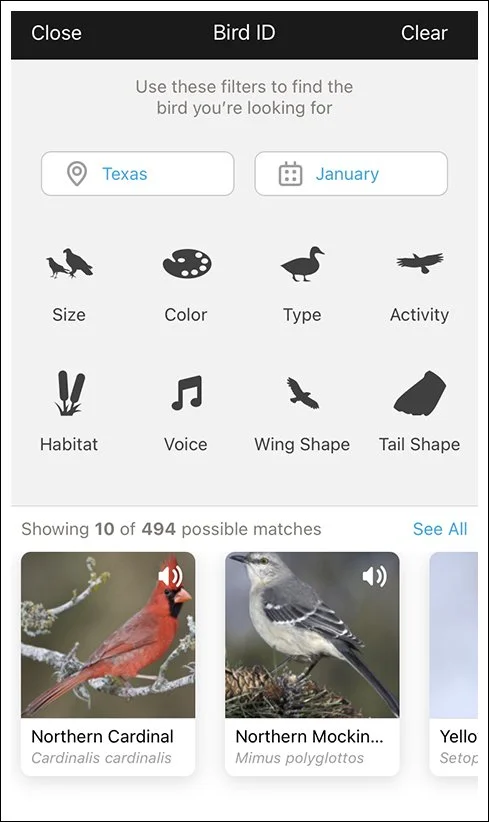
Audubon’s app
set the aperture supporting our vision, more often than not, the largest the lens offers so that to separate the bird from the background,
set the shutter speed to the smallest needed by the bird subject. In the case of small birds like finches, cardinals, etc 1/1000th is a minimum
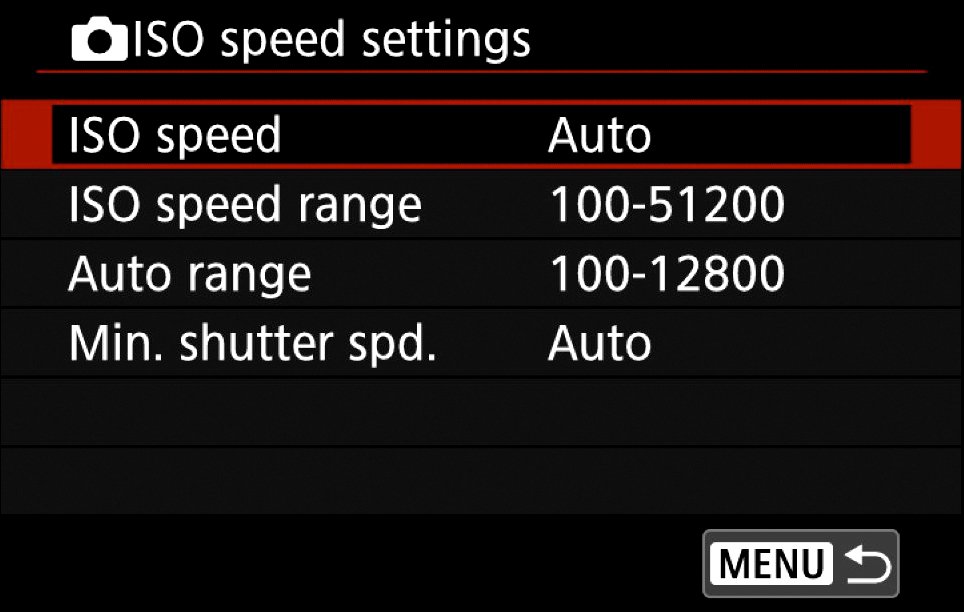
This leaves us with the last variable of exposure, the sensitivity. We’ll let the camera decide what ISO is needed for the exposure.
The range of ISO values is. rather wide. Modern cameras go as far as 51.200 ISO, which may not lead to the most usable image, even perhaps after processing it with Topaz AI or other noise reduction applications.
Using